DIY Bathroom Renovations and Repairs
Embarking on a DIY bathroom renovation and repair can be a thrilling yet daunting task. With the right approach, it transforms into an immensely rewarding project. This guide aims to walk you through the process step-by-step, ensuring your journey from outdated to outstanding is both efficient and enjoyable.
- Planning and Design
- Budgeting
- Demolition and Preparation
- Waterproofing
- Tiling Tips
- Plumbing and Electrical Work
- Adding the Finishing Touches
- Maintenance
Planning and Design
Every successful renovation project begins with a solid plan. Consider the layout, functionality, and aesthetic you desire. Sketch your ideas, and don not forget to measure your space meticulously. Deciding on a theme early can guide your choices for tiling, fixtures, and color schemes.
Budgeting for DIY bathroom renovation
DIY bathroom renovation cost is very important part, especially in times of inflation where material cost are consistently rising. Accurate budgeting involves not just accounting for current prices, but also anticipating future increases in the cost of tiles, fixtures, and other essential materials. It’s prudent to allocate a contingency fund within your budget to absorb unexpected price hikes. Comparing prices and seeking alternatives can also mitigate the impact of inflation. Additionally, consider phases in your project where you might be able to cut costs without compromising quality, such as opting for slightly less expensive materials that still meet your aesthetic and durability criteria. Effective budgeting, therefore, becomes a balancing act between your vision and the evolving economic landscape.
Demolition can be messy but necessary. Protect your work area and safely remove old fixtures and tiling. This phase is about clearing the way for your new design, but always proceed with caution to avoid damage to plumbing or electrical systems.
Waterproofing
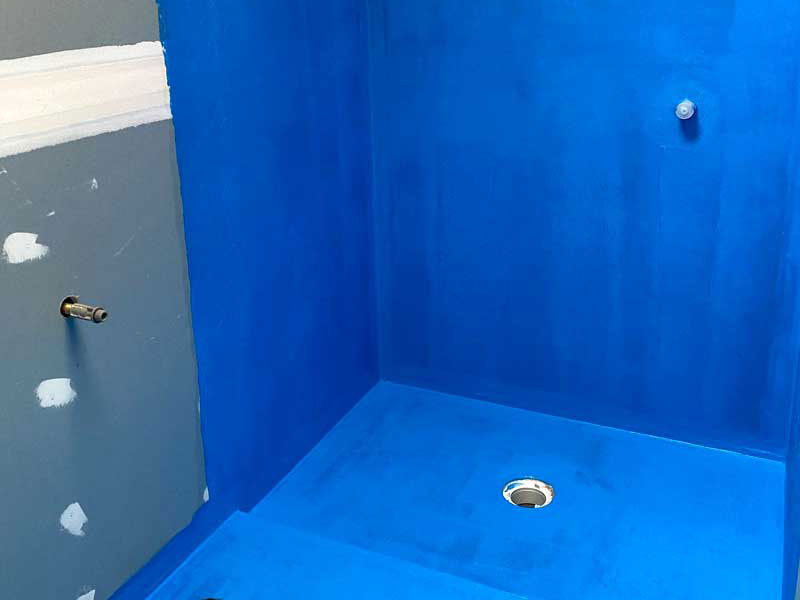
Waterproofing is non-negotiable in bathroom renovations. Proper waterproofing prevents leaks and moisture damage, ensuring the longevity of your bathroom. Focus on areas prone to water exposure, such as shower enclosures and floor edges.
Bathroom Tiling Tips
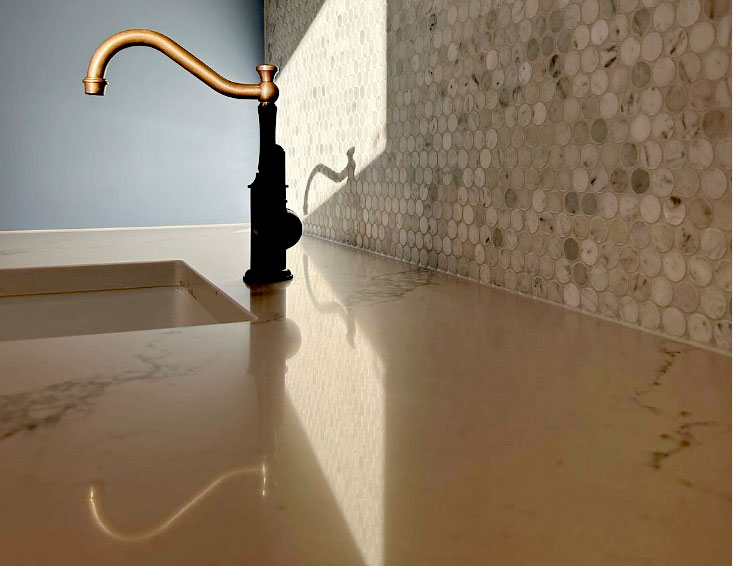
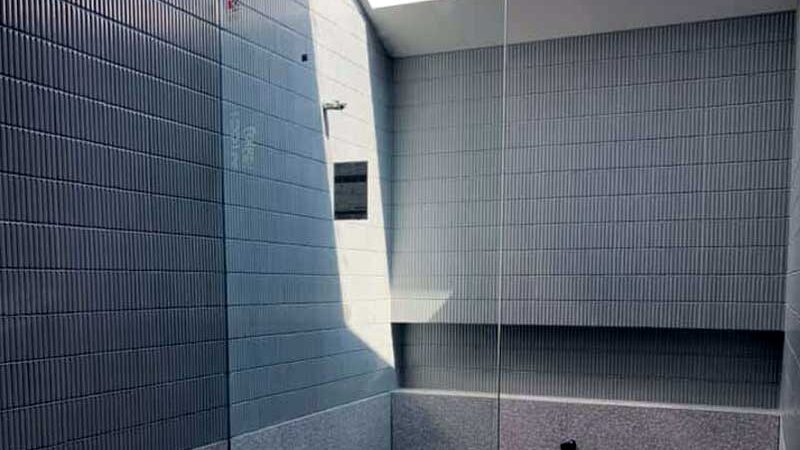
When embarking on bathroom renovations, mastering Tiling Best Practices is crucial for achieving both durability and aesthetic appeal. Firstly, ensure the surface is clean, level, and dry before starting. Use a quality adhesive suited for wet areas, and select grout that complements your tiles in color and is suitable for the expected level of moisture. When cutting tiles, measure twice and cut once to avoid waste. Remember, the layout is key; plan your tile arrangement to minimize cuts and achieve a symmetrical look. Lastly, seal the grout properly to prevent mold and water damage. Adhering to these tiling best practices will ensure a stunning and long-lasting finish in your bathroom.
Plumbing and Electrical Work
These tasks often require professional skills, but a knowledgeable DIYer can tackle some aspects. However, respect local codes and regulations, and don’t hesitate to hire professionals for complex installations or when in doubt.
Adding the Finishing Touches
Once the major work is done, it is time for the details that make your bathroom unique. Choose fixtures, paint, and decorations that complement your theme. This is your opportunity to personalize your space fully.
Maintenance
After your renovation, maintaining your new bathroom ensures it stays beautiful and functional. Regular cleaning, sealing grout, and checking for leaks can prevent problems before they start.
DIY bathroom renovations and repairs are a great way to enhance your home’s value and your enjoyment of it. By following this guide, planning carefully, and tackling tasks with confidence, you’ll create a space that is both beautiful and practical. Remember, every step you take yourself brings personal satisfaction and a touch of uniqueness to your home.
